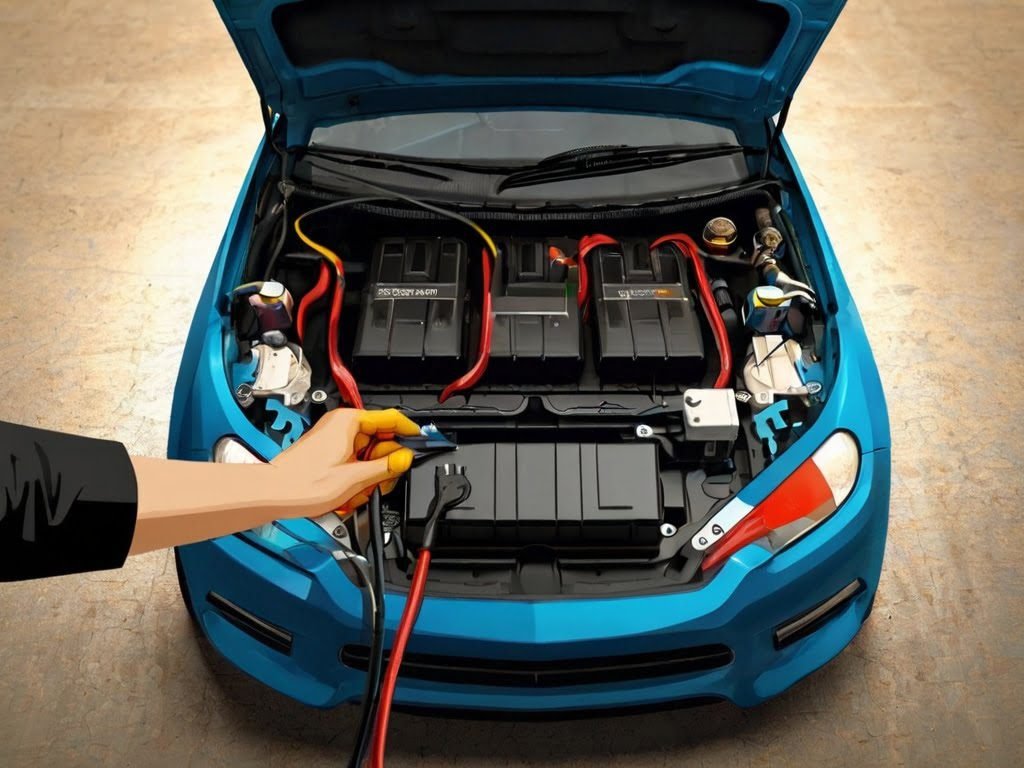
Is your car not starting? It might be time to connect a new battery! Connecting a car battery is a simple yet crucial task that every driver should know how to perform.
Not only can it save you time and money, but it also ensures that your car remains in optimal running condition.
Table of contents
In this guide, you’ll learn how to connect a car battery, with easy-to-follow steps and helpful tips.
How to Connect Car Battery: A Step-by-Step Guide
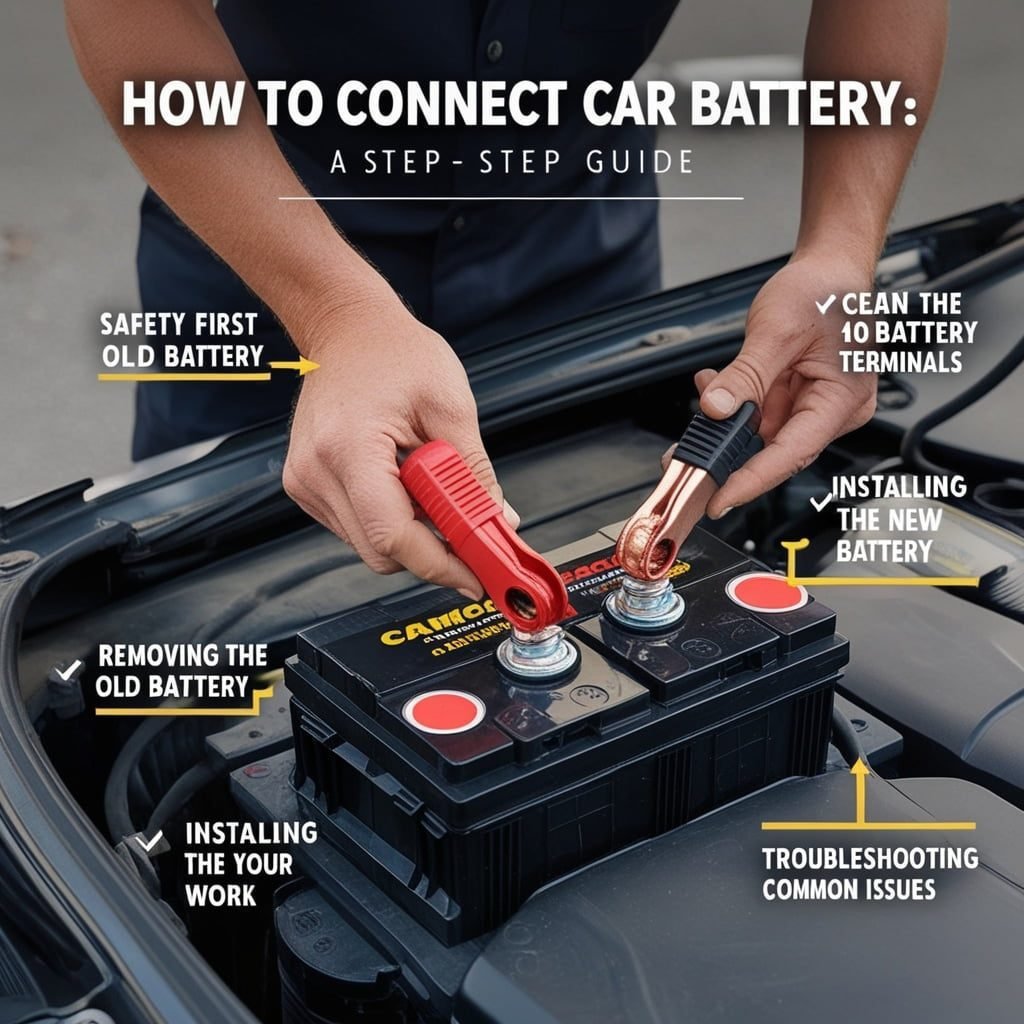
1. Safety First: Preparing to Connect Your Car Battery
Before you start battery maintenance, safety is paramount. Ensure you have the necessary tools and protective gear:
Safety Gear
Wear gloves and safety glasses to protect yourself from acid spills or sparks.
Tools Required
A wrench or socket set, a battery terminal cleaner, and dielectric grease.
Turn Off the Engine
Make sure your car is turned off and the keys are out of the ignition.
2. Removing the Old Battery
If you’re replacing an old battery, follow these steps:
Locate the Battery
Typically found under the hood, but some vehicles have them in the trunk.
Disconnect the Negative Cable
Using your wrench, loosen the nut on the negative (-) terminal first. Remove the cable and secure it away from the battery.
Disconnect the Positive Cable
Repeat the process for the positive (+) terminal.
Remove the Battery
Carefully lift out the old battery and place it in a safe location.
3. Cleaning the Battery Terminals
Ensure a good connection by cleaning the terminals:
Inspect the Terminals
Look for any corrosion or dirt.
Clean the Terminals
Use a battery terminal cleaner or a mixture of baking soda and water. Scrub with a wire brush until the terminals are shiny.
4. Installing the New Battery
Now, it’s time to install your new battery:
Place the New Battery
Carefully position the new battery into the battery tray, ensuring it’s secure.
Reconnect the Positive Cable
Attach the positive (+) cable to the positive terminal first. Tighten the nut with your wrench.
Reconnect the Negative Cable
Attach the negative (-) cable to the negative terminal. Tighten the nut securely.
Apply Dielectric Grease
This helps prevent future corrosion on the terminals.
5. Checking Your Work
After installation, make sure everything is properly connected:
Double-Check Connections
Ensure both terminals are tight and secure.
Start the Car
Turn on the ignition to check if the car starts. If it does, you’ve successfully connected your car battery!
6. Troubleshooting Common Issues
Sometimes, things don’t go as planned. Here are some common issues and solutions:
Car Won’t Start
Check the terminal connections for tightness. Make sure the battery is fully charged.
Corrosion
Clean the terminals again and apply more dielectric grease.
Battery Light On
If the battery light stays on, there might be an issue with your car’s charging system. Consult a professional.
Connecting a car battery is a vital skill for any driver. By following these steps, you can ensure a safe and effective battery installation, keeping your vehicle running smoothly. Remember, always prioritize safety, and double-check your connections.
How to Disconnect Car Battery: A Step-by-Step Guide

Disconnecting a car battery is a simple but important job for anyone doing car maintenance or fixing electrical problems. To do it safely, you’ll need a wrench or socket set and follow some basic steps.
1. Safety First: Preparing to Disconnect Your Car Battery
Before you begin, it’s essential to take proper safety precautions:
Safety Gear
Wear gloves and safety glasses to protect yourself from potential sparks or acid spills.
Tools Required
A wrench or socket set, and optionally, a battery terminal puller.
2. Locate the Car Battery
Understanding where your car battery is located is the first step:
Common Locations
Typically, the battery is under the hood, but in some vehicles, it may be in the trunk or under a seat.
Identify the Terminals
The battery has two terminals: positive (+) and negative (-).
3. Disconnecting the Negative Terminal
Always start by disconnecting the negative terminal to prevent any accidental short circuits:
Loosen the Nut
Using your wrench, loosen the nut on the negative (-) terminal.
Remove the Cable
Carefully remove the negative cable and secure it away from the battery to avoid contact.
4. Disconnecting the Positive Terminal
Next, move on to the positive terminal:
Loosen the Nut
Loosen the nut on the positive (+) terminal.
Remove the Cable
Remove the positive cable and secure it away from the battery.
5. Removing the Battery (If Necessary)
If you need to remove the battery completely:
Release Battery Clamps
Some batteries are secured with clamps or a bracket. Use your wrench to loosen and remove these.
Lift Out the Battery
Carefully lift the battery out of the tray, using both hands to avoid dropping it.
6. Storing the Battery Safely
Proper storage is key if you’re not immediately installing a new battery:
Cool, Dry Place
Store the battery in a cool, dry place, away from flammable materials.
Battery Case
Use a battery case or tray to catch any potential leaks.
7. Troubleshooting Common Issues
Sometimes, unexpected problems arise:
Stubborn Terminals
If the terminals are corroded and difficult to remove, use a battery terminal puller.
Acid Spills
Neutralize any spills with baking soda and water, and clean thoroughly.
8. Reconnecting the Battery
When it’s time to reconnect or replace the battery:
Positive First
Attach the positive cable first, then the negative cable.
Tighten Securely
Ensure all connections are tight and secure to avoid any electrical issues.
Knowing how to disconnect car battery is essential for various maintenance tasks and vehicle storage.
By following these steps, you can confidently handle battery replacements and electrical work while preventing any potential safety hazards.
Always prioritize safety, handle the battery with care, and consult your vehicle manual for specific instructions.
Faqs
Which car battery terminal to connect first?
Always connect the positive terminal (+) first when installing a car battery.
Why do you connect the positive terminal first?
Connecting the positive terminal first reduces the risk of short circuits and ensures a safer installation process.
Which one is positive, red or black?
The positive terminal is typically marked with a red cover or indicator.
Which battery terminal is red? (Connect the Negative)
A red color usually identifies the positive battery terminal.
Can a car battery be installed wrong? (Jumper Cables)
Yes, installing a car battery incorrectly can lead to electrical damage or safety hazards. Always follow the correct polarity (+ and -).
Which terminal to disconnect first on a car battery? (Cables to a Car Battery)
Disconnect the negative terminal (-) first when removing a car battery.
Why remove the negative terminal first on a car battery?
Removing the negative terminal first reduces the risk of accidental short circuits and electrical sparks.
Do you connect the dead battery first?
No, it’s important to connect the live (fully charged) battery first when jump-starting a vehicle to avoid potential electrical issues.

